After understanding different types of Events such as Open Party Events, and Charter Events, etc, let us understand how to edit these events when they are already created.
Head on to the URL: resosadmin.gofish.rocks
Login to the system by entering your email Id and password. As you successfully login into the system; follow the below instructions.
Step 1 - Search
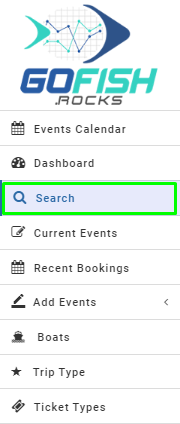
Click on the Search button from the left side of the screen.
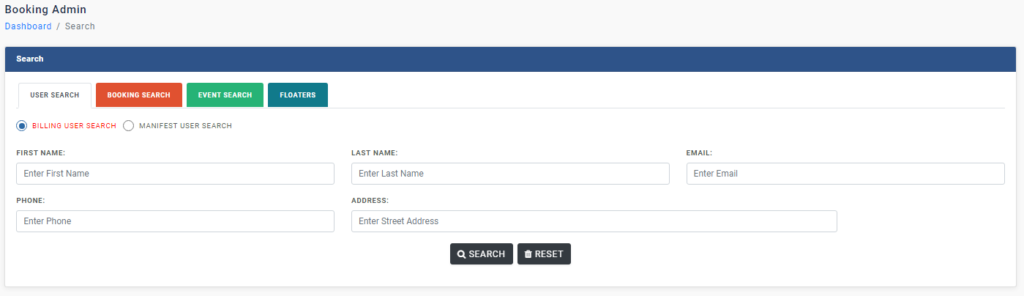
Upon clicking on it; you’ll see a screen like this below.
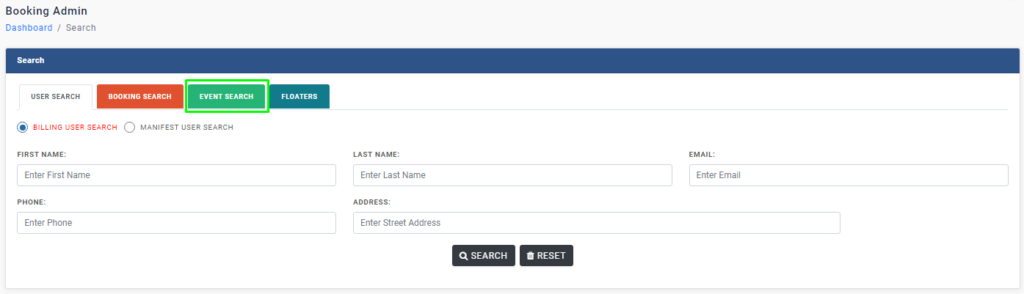
Step 2 - Click on Event Search
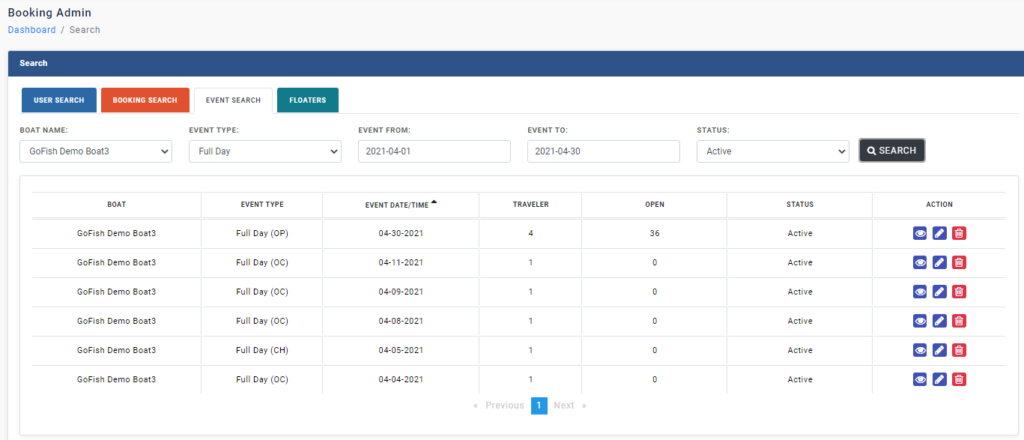
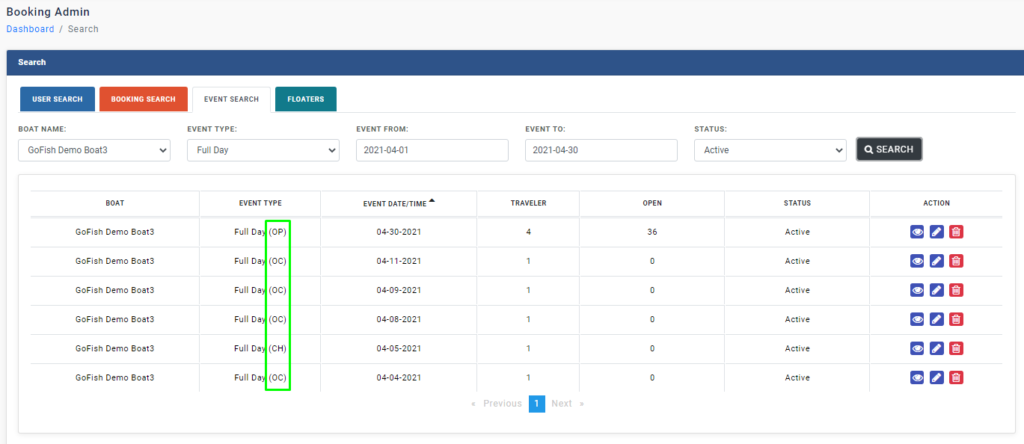
You’ll see a screen like this as mentioned below and now you’re required to fill in the following details. Since we need to first search for the event which we want to edit; you’re required to fill in the following details –
Boat Name – Enter Boat name
Event Type – Enter Event type (Full Day, ½ Day, Overnight, 2 Day Charter, etc.)
Event From – Select date
Event To – Select date
Status – Enter status (Active, Inactive, Deleted, Blocked, Cancelled)
After filling all the details; click on Search. The system will show all the events that fall as per your filled information.
Here, what needs to be noted is that in the Event type, there are abbreviations used to classify events as –
OP – Open Party
OC – Open Charters
CH – Charter Events
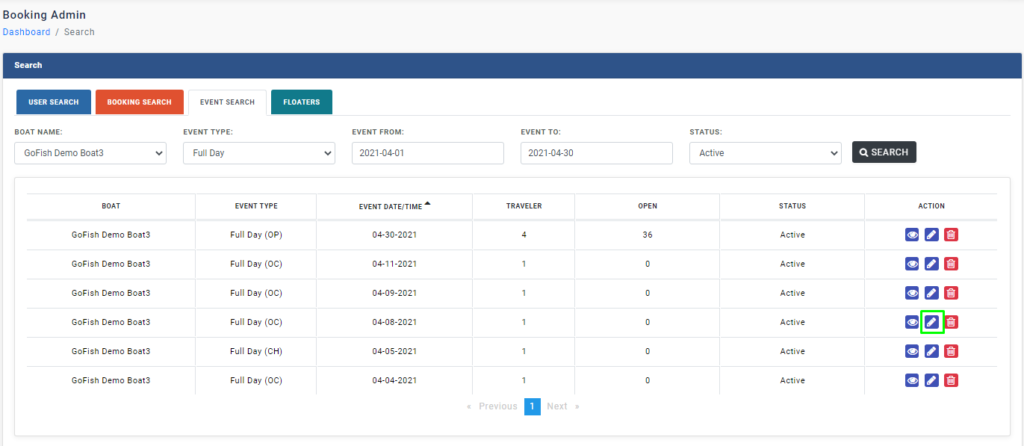
Step 3 - Click on the ‘Edit icon to edit an Event.
Step 4 - Make necessary changes
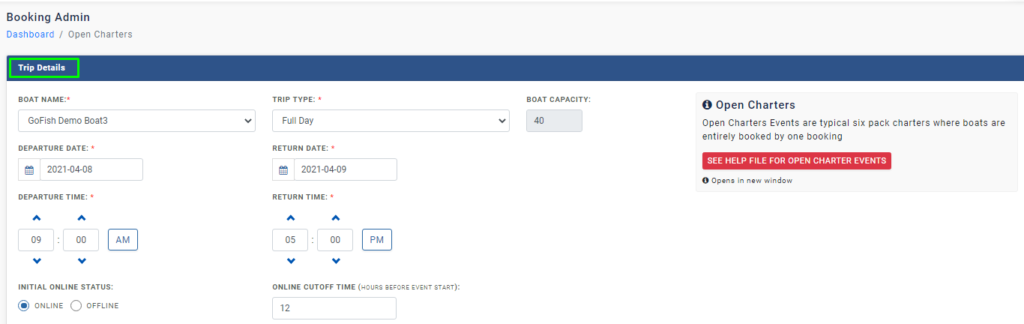
In the next screen; you’ll see sections from where you can edit the following details.
Trip Details – Enter the required information
Boat name –
Trip Type
Boat Capacity
Departure Date
Return Date
Departure Time
Return Time
Initial Online Status
Online CutOff time
Fee Details – Enter the following Fee details
Total Amount – Enter total amount.
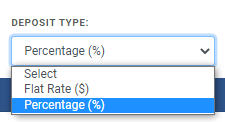
Deposit Type – Your customers can pay an initial deposit that can be either Flat rate or in some percentage (ex. 50%). You can select it here and your customers will be able to see it while booking from your View my page.
Deposit Amount – Enter amount here and the system will automatically calculate the balance amount.
Balance Amount – The balance amount will automatically reflect here.
Balance to be paid – Here you’re giving option to your customers to make their remaining balance in two ways
At the time of departure
Prior to departure – The customer can choose to make the balance payment some days prior to departure. (like 3 days before scheduled departure).
On this day when the customer will make the balance payment; the system will automatically send a text message and an email to your customer. You can send the text message with a payment link in it or can give an option to the customer to choose to call.
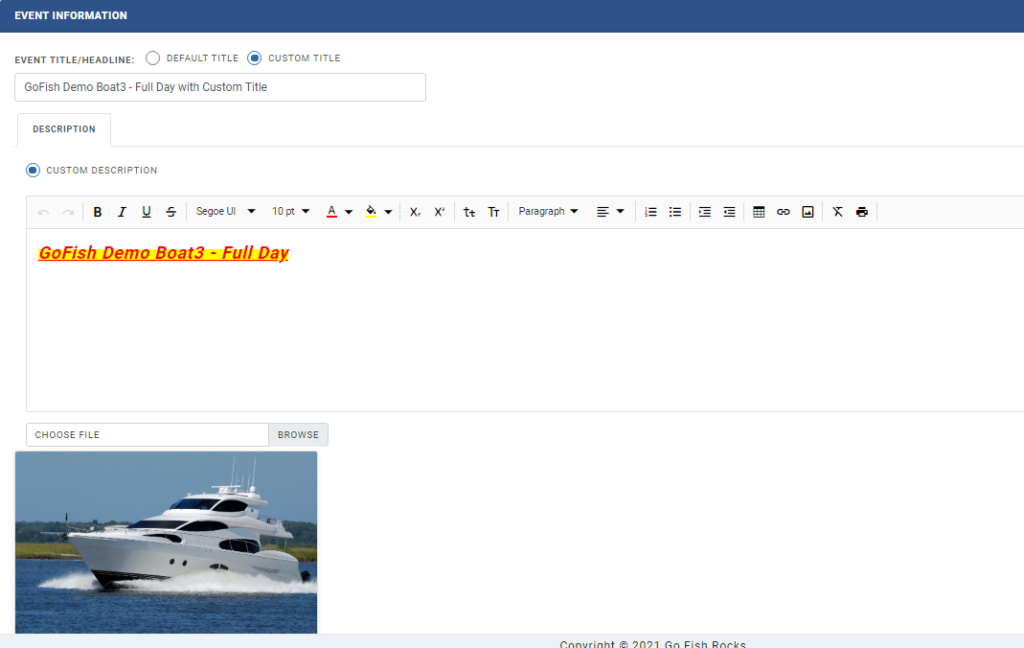
Event Information
Event Title/Headline – Enter Description title
Description – Enter Event Description in this section
Add Image – Add your boat image by clicking on ‘Browse’ and then selecting and uploading the desired image.
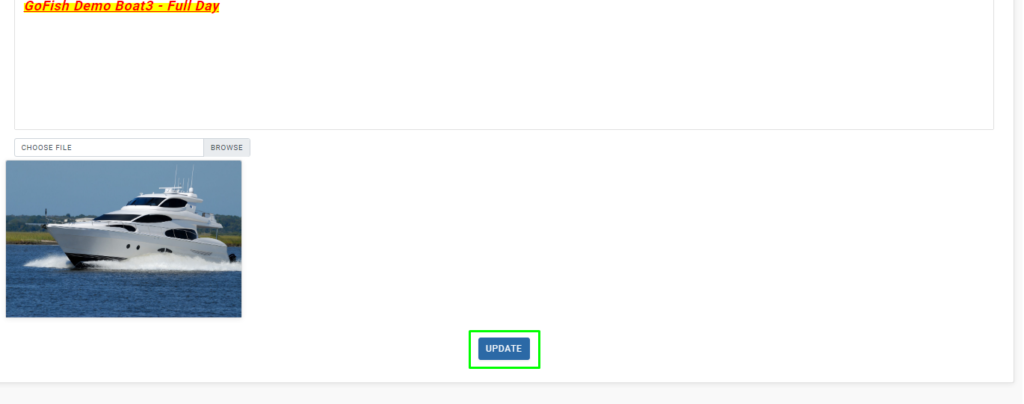
Step 5 - Click on Update
Once you’re done with making all the necessary changes; click on ‘Update’ to save all the necessary changes.