How to create a Custom Charter booking for your customers?
Events
- How to Edit Events
- How to Cancel an Event?
- What are Open Party Trips
- What are Reoccurring Events
- How to Block and Unblock Events
- What are Single/Open Events
- How to Delete an Event
- What are Open Charter Trips
- How to create a Charter Event?
- How to Convert a Vacant Open Party Event into a Charter Event?
- How to create a Custom Charter booking for your customer?
- How to create Charter Events from scratch?
- What are Custom Charters
- How to create a Standard Charter trip?
- How to create Reoccurring Charter Events
- What are Standard Charters
- How to create Single/Open Charter
How to create a Custom Charter booking for your customer?
Here you will know how you can make the Customer charter booking for your customers from the reservation admin so let’s get started.
Step 1 - Add Custom Charter Trip
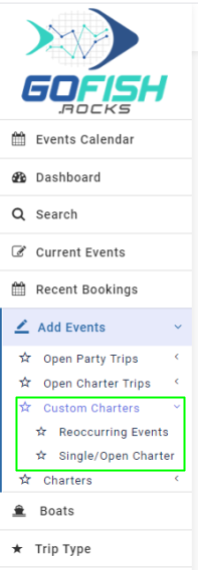
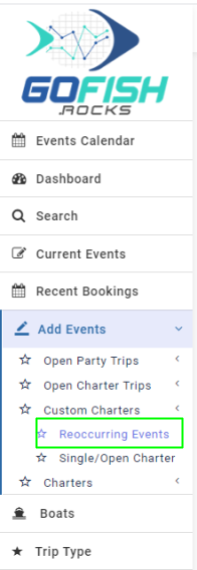
Login to your reservation system and click on ‘Add Events’ and then ‘Custom Charters’ from the drop down menu.
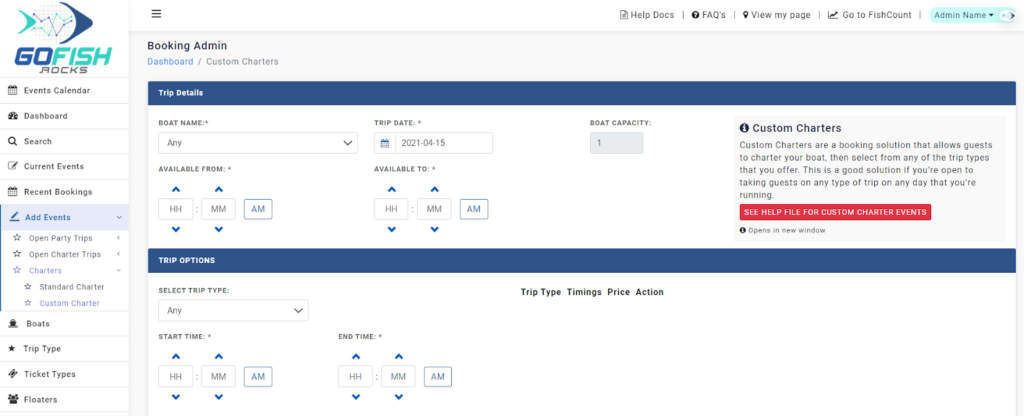
As you can see there are several fields to be filled in order to create a charter booking.
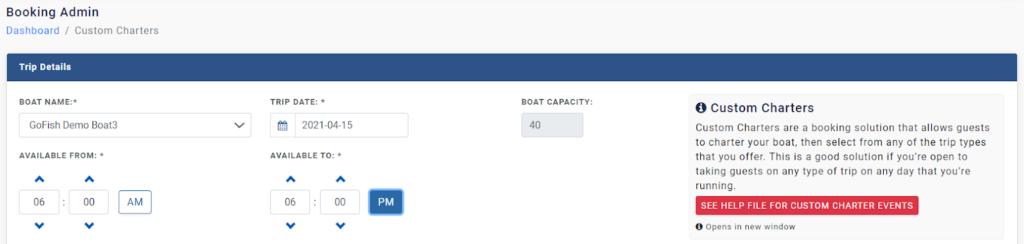
Step 2 - Fill in the details
- Boat Name – Enter boat name
- Trip Date – Trip schedule date
- Available from – Time span between which the charters will run.
- Available To – Time span between which the charters will run.
Let us understand it here
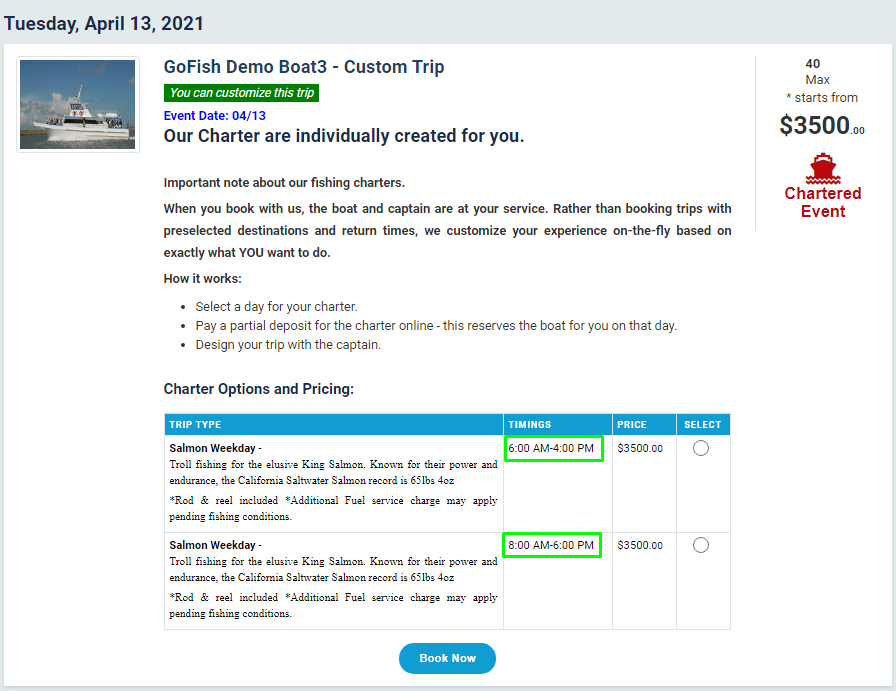
Let us assume that we want to create two variations as shown in the above screenshot. Here we can see that the timings of the first trip is from 6am to 4pm and the second one is scheduled for 8am to 6 pm. So while creating a charter event, you are required to enter as –
Available From – 6:00 AM
Available to – 6:00 PM (considering the maximum time of both trips)
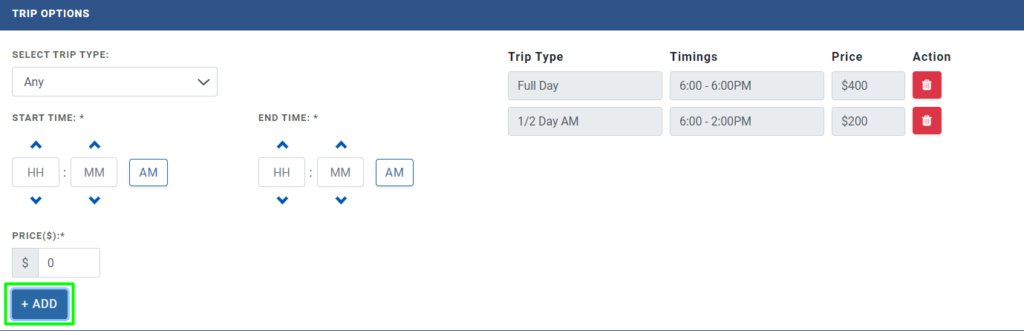
Trip Options
- Select Trip Type – Enter Trip type (Full Day, ½ Day, etc)
- Start Time – Trip start time (First variation of the trip)
- End Time – Trip End Time (First variation of the trip)
- Price – Enter ticket price
How to create the second version of the trip?
- Fill the Trip Details and Trip Options
- Click on ‘Add’ in the Trip Options
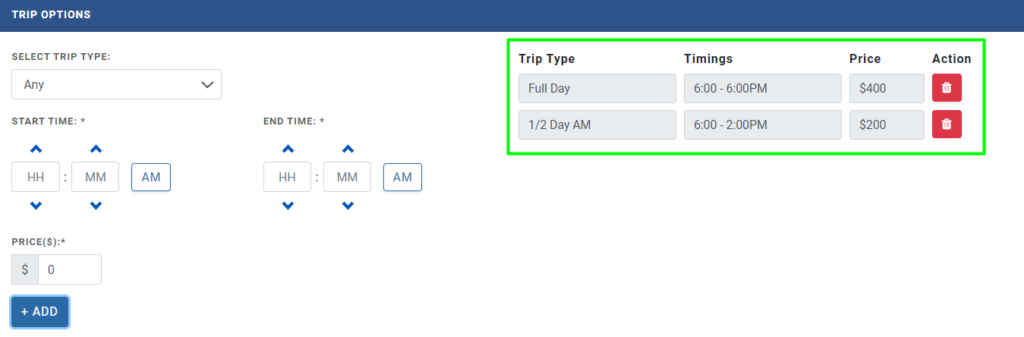
Once you click on ‘Add’, you’ll see that the previous version will be displayed on the right side of the screen. You will be able to create multiple trips from here.
Fee Details
- Deposit type – You can get a deposit collected in two forms i.e Flat rate or percentage
- Deposit amount – Enter deposit amount.
Balance to be paid – These options are for the treatment of the balance due upon the customer.
- At the time of departure – Select this if your customer wants to pay the balance at the time of departure.
- Prior to departure – Select this if your customer wants to pay the balance prior to departure. Enter the number of days prior to departure the customers want to pay the balance. Suppose a customer wants to pay the balance 3 days prior to departure. You can select the ‘Prior to departure’ option and type 3 in the box provided.

- Include payment link – If you choose this option; the system will send an email to the customer with the payment link in the email. The customer can process that payment from that link itself.
- Choose to call – With this option; the email will ask the customer to call you directly.
Event Information
In this section, you are required to fill in a brief description of the event. You can also add an image as shown in the second screenshot.
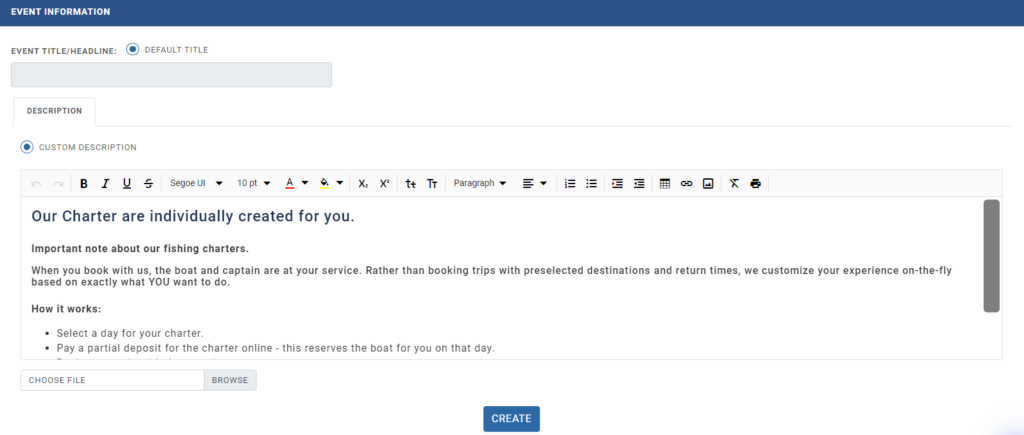
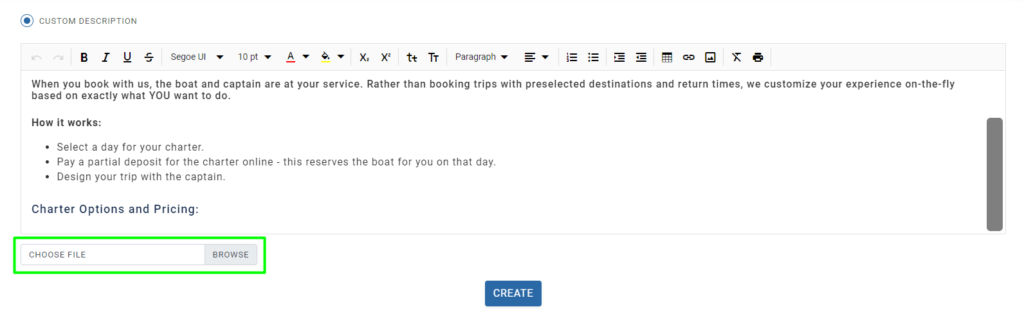
Once you are done with the Event Description; click on ‘Create’ and your Custom charter will be created and will be visible on your website.
Events
- How to Edit Events
- How to Cancel an Event?
- What are Open Party Trips
- What are Reoccurring Events
- How to Block and Unblock Events
- What are Single/Open Events
- How to Delete an Event
- What are Open Charter Trips
- How to create a Charter Event?
- How to Convert a Vacant Open Party Event into a Charter Event?
- How to create a Custom Charter booking for your customer?
- How to create Charter Events from scratch?
- What are Custom Charters
- How to create a Standard Charter trip?
- How to create Reoccurring Charter Events
- What are Standard Charters
- How to create Single/Open Charter