At times, due to unforeseen circumstances; a customer wants to cancel a booking and apply for a refund. In such a situation, you can communicate with the customer and can ask him to move his booking to a later suitable date.
Or, if he insists to cancel his booking and get his amount refunded, you are required to first assign him ‘Floater’ status since we have his money and we have to refund it. Once done then only you can refund the customer’s money.
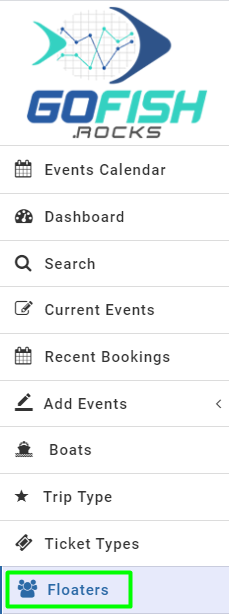
To see all the Floaters, click on Floaters from the main menu.
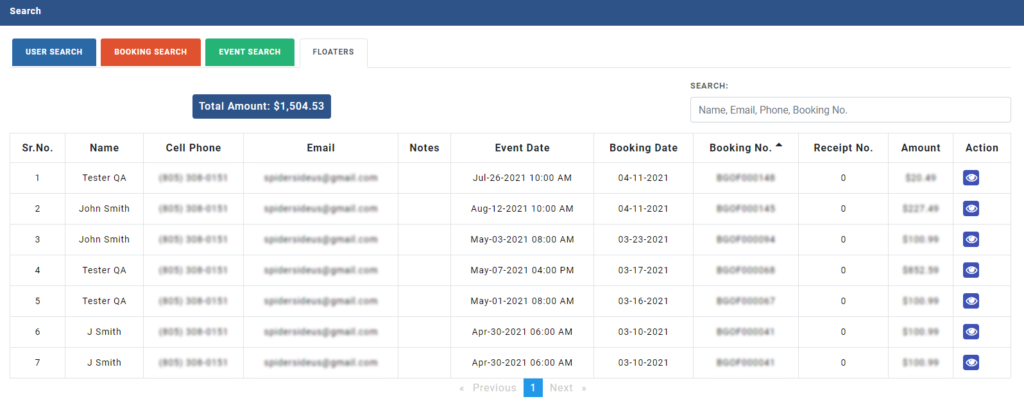
Here, you can see the following details of the floaters
Name
Cell phone number
Email Id
Event Date
Booking Date
Booking Number
Receipt Number
Amount
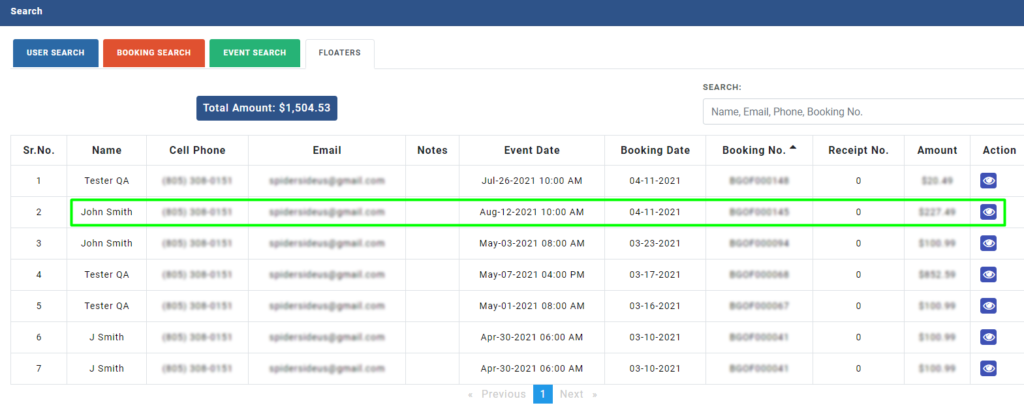
To make any changes in the Floaters; you are required to click on the blue action button on the right side.
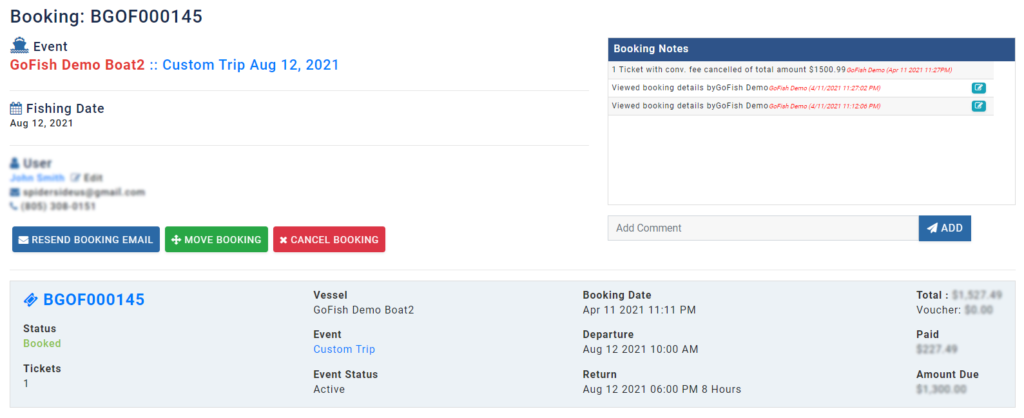
Upon clicking, you will see the booking details as shown below.
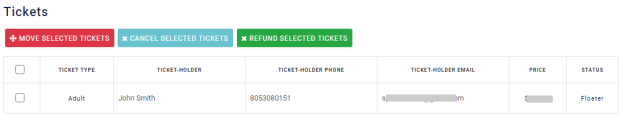
You can make changes here and it will reflect on the Floater section. You can take multiple actions here as per your passenger’s preference. The following are some of them
Resend Booking Email
Move Booking
Cancel Booking
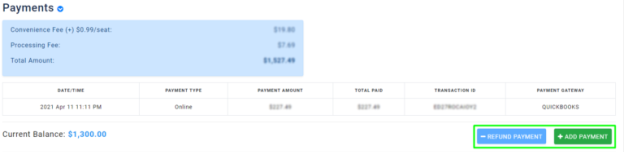
Moreover, you can also Add Payment or Refund the amount back to the customer.
Once you’re done doing the changes; click on ‘Save all ticket information’.